How to Bind RC Transmitter Properly
24/04/2026
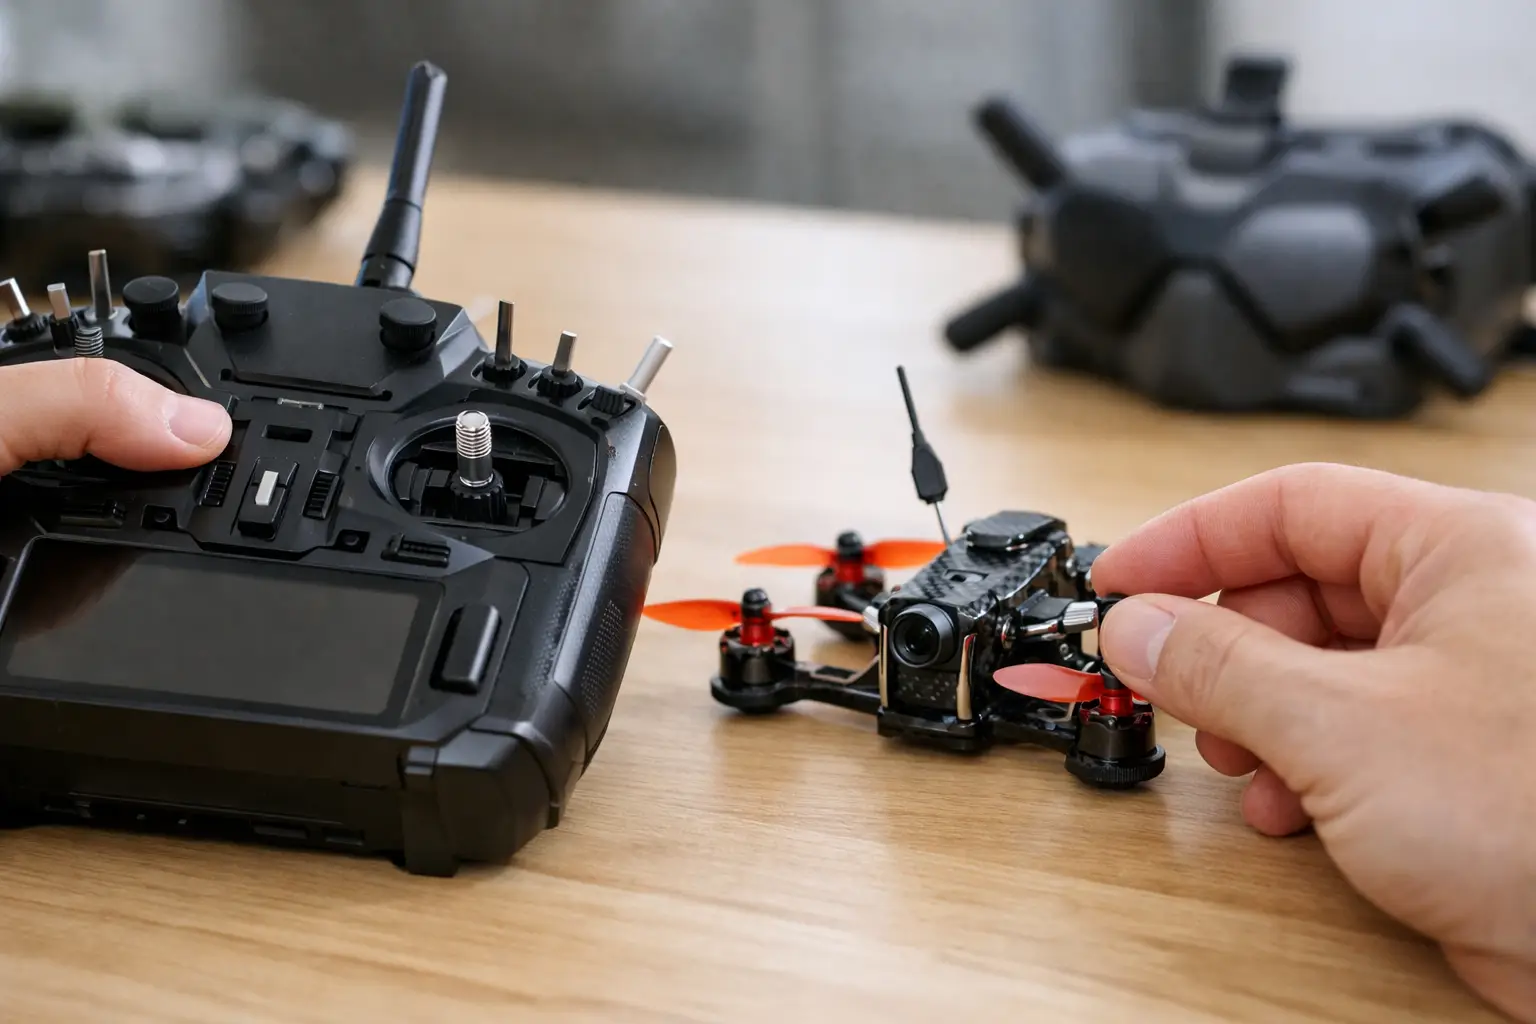
How to Bind RC Transmitter Systems Properly - A Simple Guide for RC Cars, Crawlers and Aircraft
You switch the model on, the transmitter lights up, and absolutely nothing happens.
For most RC owners, that usually means one thing:
the transmitter and receiver are not bound correctly.
If you are trying to work out how to bind RC transmitter systems properly, the good news is that the process is usually straightforward once you understand:
-
the order
-
the equipment involved
-
the common mistakes that stop the bind working
Binding is simply the process of pairing your transmitter with a receiver so they communicate only with each other.
Modern 2.4GHz RC radio systems use binding to:
-
prevent interference
-
improve reliability
-
allow multiple RC models to run safely together
That applies whether you run:
-
RC cars
-
crawlers
-
boats
-
aircraft
-
drift cars
-
construction vehicles
RC Model Shop stocks a large range of RC radio systems, transmitters and receivers suitable for RC cars, crawlers and aircraft setups.
What binding actually does
When you bind a transmitter to a receiver, the receiver stores that transmitter’s unique signal ID.
Once paired, the receiver will only respond to:
-
that transmitter
-
the correct model memory
-
the correct radio protocol
This matters because many hobbyists now run:
-
multiple RC cars
-
several crawlers
-
aircraft fleets
from one handset.
Modern radio systems often allow:
-
multiple saved model profiles
-
endpoint adjustments
-
steering rates
-
failsafe settings
all stored independently.
If the wrong model profile is selected, it can look like the bind failed even though:
the radio is simply on the wrong memory.
Before binding an RC transmitter
Before starting, check:
transmitter and receiver compatibility first.
This is the single biggest cause of binding failure.
Matching the brand alone is not enough.
Examples:
-
FlySky AFHDS ≠ AFHDS 2A
-
Spektrum DSM2 ≠ DSMR
-
Futaba systems use multiple protocols too
Replacement receivers are where mistakes happen most often.
Before binding, also check:
-
transmitter batteries
-
receiver power supply
-
ESC power delivery
-
antenna condition
Weak voltage can interrupt the process and create inconsistent binding behaviour.
For safety:
-
remove pinions on fast RC cars if needed
-
remove propellers from aircraft
-
keep wheels off the ground during testing
Binding should always be treated as:
controlled bench setup work.
How to bind RC transmitter systems step-by-step
The exact method varies slightly between brands, but the process is usually similar.
Step 1 - Put the receiver into bind mode
Receivers usually enter bind mode using:
-
a bind plug
-
a bind button
-
automatic startup sequence
Most receivers will show:
-
flashing LEDs
-
rapid blinking
-
alternating lights
when waiting for a transmitter signal.
If the receiver has:
-
no obvious button
-
unclear markings
check the manual before forcing anything into the wrong port.
Step 2 - Power the receiver
On RC cars and crawlers, receiver power usually comes from:
-
the ESC BEC
-
the drive battery
On aircraft, power may come from:
-
ESC BEC
-
separate receiver battery
-
flight controller system
A flashing receiver light normally means:
waiting for bind signal.
A solid light may indicate:
-
successful bind
or -
not actually in bind mode
depending on the system.
The LED pattern matters.
Step 3 - Put the transmitter into bind mode
Most transmitters use either:
-
a dedicated bind button
-
a bind menu option
-
startup bind mode
Some radios require:
-
holding bind while powering on
others: -
enter bind from system menus
Keep the transmitter:
-
close enough for signal
-
not touching the receiver directly
Around:
one to two metres
usually works well indoors.
Too much distance weakens the signal.
Too little distance can occasionally overload certain receivers during setup.
Step 4 - Wait for confirmation
Once connected:
-
the receiver LED normally turns solid
-
some radios beep
-
some displays show “bind complete”
After binding:
-
Switch everything off
-
Power back on normally
-
Confirm controls respond correctly
The safest startup order is usually:
-
transmitter on first
-
model on second
This helps prevent unexpected throttle behaviour.
Why RC transmitter binding sometimes fails
Most binding failures come from a few common causes.
1. Incompatible transmitter and receiver
This is extremely common.
Even receivers from the same brand may use:
-
different protocols
-
different firmware generations
-
different telemetry systems
Always confirm exact compatibility.
2. Incorrect bind procedure
Missing a single step is enough to stop the bind process.
Examples:
-
not holding bind while powering on
-
bind plug inserted incorrectly
-
wrong menu option selected
3. Weak receiver power
If the receiver browns out during binding:
-
it may restart repeatedly
-
LEDs may behave strangely
-
the bind may never complete
This often happens with:
-
weak BECs
-
low batteries
-
damaged ESC wiring
4. Wrong model memory selected
Computer radios store multiple setups.
If the wrong model profile is active:
-
controls may not respond
-
endpoints may appear wrong
-
the system may seem unbound
when it is actually connected correctly.
5. Firmware or protocol mismatch
More advanced systems occasionally develop compatibility issues between:
-
old receivers
-
new transmitters
-
updated firmware versions
This is less common on simple RC cars, but still possible.
Binding RC transmitters for RC cars and crawlers
Surface models are usually the easiest systems to bind.
Once paired:
-
steering direction
-
throttle direction
-
endpoint setup
-
failsafe behaviour
should all be checked properly.
If:
-
throttle works backwards
-
ESC calibration feels wrong
-
steering centres poorly
the bind itself may actually be fine.
Crawler setups can become more complex once:
-
winches
-
dig units
-
light systems
-
multi-channel accessories
are added.
Make sure the receiver supports enough channels for the setup.
Binding RC aircraft systems
Aircraft radio setup requires more care.
A successful bind does NOT automatically mean:
flight-ready.
After binding, always confirm:
-
servo direction
-
throttle cut
-
failsafe behaviour
-
stabilisation setup
-
range test performance
Some aircraft receivers also store:
-
failsafe positions
-
gyro settings
-
stabilisation modes
during the bind process itself.
That is why aircraft owners should always follow the exact receiver instructions carefully.
Common signs the bind worked correctly
A successful bind should produce:
-
stable steering
-
clean throttle response
-
quick reconnect after power cycle
-
solid receiver LED
Afterwards, test:
-
steering centring
-
throttle neutral
-
failsafe operation
Failsafe testing matters especially on:
-
aircraft
-
fast RC cars
-
larger RC vehicles
A model that binds successfully still needs:
safe failsafe behaviour.
When should you rebind an RC transmitter?
Normally:
you do not need to rebind regularly.
Most systems store the pairing permanently.
Rebinding is usually only required if:
-
replacing the receiver
-
resetting the radio
-
changing firmware
-
moving receivers between models
-
correcting communication problems
Intermittent radio problems are more commonly caused by:
-
damaged antennas
-
low voltage
-
poor installation
-
electrical noise
-
failing electronics
rather than the bind itself.
Choosing the right RC radio system matters
Many RC problems begin before setup even starts.
The wrong receiver or incompatible protocol creates:
-
binding confusion
-
random connection issues
-
wasted money
-
frustrating troubleshooting
That is why choosing the correct RC radio system matters heavily long-term.
At RC Model Shop, the focus is always helping RC owners match:
-
transmitters
-
receivers
-
radio protocols
-
channel counts
-
intended vehicle type
properly before setup even begins.
A clean first-time bind is usually the result of:
-
compatible equipment
-
stable power
-
correct procedure
rather than complicated troubleshooting.
Once those basics are right, most RC radio systems bind in minutes and stay reliable for years afterwards.
Frequently Asked Questions
Why will my RC transmitter not bind?
Common causes include:
-
incompatible receiver
-
incorrect bind procedure
-
weak receiver power
-
wrong model memory
-
damaged wiring
Do I need to bind every time I use my RC car?
No. Once stored, the transmitter and receiver pairing normally remains saved permanently.
What does a flashing receiver light mean?
Usually:
-
waiting for bind signal
-
searching for transmitter
-
failed connection
depending on the system.
Why does my RC car still not respond after binding?
Possible causes include:
-
wrong model memory
-
reversed throttle setup
-
ESC calibration issues
-
incorrect receiver wiring
Can one transmitter control multiple RC cars?
Yes. Many modern transmitters support:
-
multiple model memories
-
several receivers
-
different saved setups
within the same handset.
Written by the RC team at RCModelShop.co.uk / Appliance Electronics UK Ltd, UK supplier of RC radio systems, receivers, servos and RC electronics.